How to Apply Cream Blush for a Fresh Lift
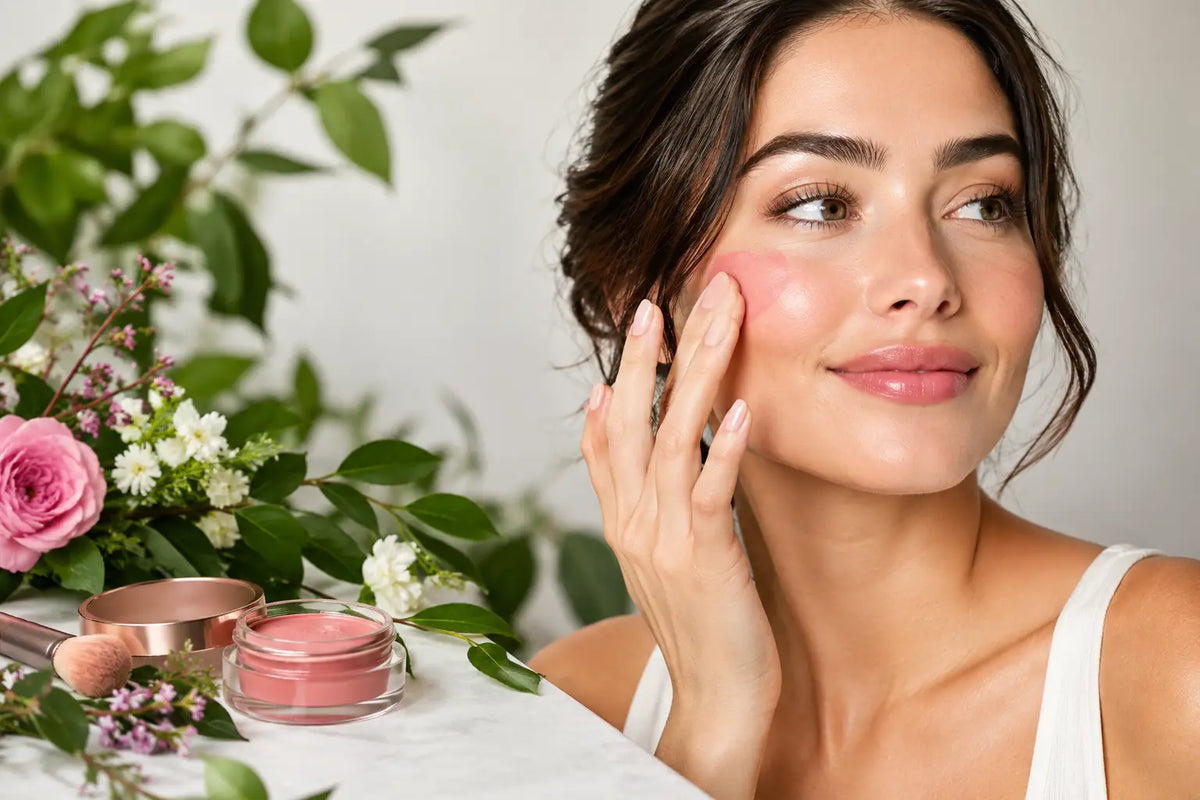
Cream blush has the rare ability to make skin look like it has just had a good night’s sleep, a glass of water and a little sunshine. The secret is not piling it on. When you apply cream blush with the right texture, placement and pressure, it brings believable warmth back to the face without catching on dry patches, fine lines or texture.
For women who want complexion makeup to look polished but never overdone, cream formulas are a beauty-bag essential. They melt into the base rather than sitting on top of it, creating that fresh, healthy-looking flush that powder alone can struggle to deliver.
Why cream blush gives mature skin a beautiful finish
A great cream blush has movement. It blends with the natural warmth of your skin, so the colour looks like it belongs there rather than like a flat stripe across the cheek. This is particularly flattering when skin is drier, more textured or no longer as naturally plump as it once was.
The finish matters as much as the shade. A creamy, satin or softly luminous blush reflects light gently, helping cheeks look fuller and more lifted. Very glittery formulas can draw attention to texture, while an ultra-matte formula may feel less forgiving over dehydrated skin. The goal is glow, not sparkle.
Cream blush is also wonderfully adaptable. Tap on the sheerest wash for daytime, then build it for dinner, an event or whenever your complexion needs more life. Because you are working in thin layers, you remain in control of the result.
Choose the right cream blush texture and shade
Before technique comes product choice. If your skin leans dry, look for a balm, cream or gel-cream formula that feels comfortable and emollient. If you are combination or oily, a cream-to-powder texture can offer longer wear, but it should still blend easily before it sets.
For colour, start with the flush you naturally get after a brisk walk. Soft peach, apricot and warm rose shades brighten golden and olive undertones. Cool pink, berry and mauve shades can bring clarity to cooler undertones. If your skin tone is deeper, rich terracotta, warm berry, burnt rose and plum create a gorgeous dimension that lighter pastel blushes may not provide.
You do not need to be overly strict about colour rules. A shade that makes you feel radiant is always worth wearing. The practical test is to tap a small amount onto the cheek before committing: it should enliven your complexion, not make the rest of your makeup look grey, yellow or overly red.
How to apply cream blush for a lifted look
Prep first. Cream blush blends most beautifully over skin that is hydrated, then finished with a light layer of complexion product. Allow your moisturiser, sunscreen and foundation or skin tint to settle for a minute. If the base is still very wet, the blush can skip or disturb it. If the base is extremely matte and set with lots of powder, cream colour may grip unevenly.
Pick up less product than you think you need. With a pigmented formula, one tiny tap on the fingertip is often enough for the first cheek. Warm it between your fingers, then press it onto the upper outer area of the cheek, beginning slightly above the apple rather than directly on it.
Now blend upwards and outwards towards the top of the ear. Use soft tapping motions rather than dragging. This placement gives the face a subtle lift and keeps the colour from sitting too low, where it can make the cheeks appear heavier. Check your reflection facing forward, not only from the side. The blush should look like a gentle veil of colour, not a separate shape.
Repeat on the other side, adding a second whisper-thin layer only if you want more intensity. It is easier to build cream blush than to remove it, although a clean foundation brush can soften an overenthusiastic application in seconds.
For a naturally sun-kissed effect, tap the smallest remaining amount over the bridge of the nose after you have completed both cheeks. Keep it understated. A little warmth is chic; a wide red band across the face is less so.
The placement that changes the whole effect
Blush placement is personal, but it has real visual impact. Applying colour directly to the roundest part of the apple creates a sweet, youthful flush. It is lovely if that is the look you enjoy, yet it can emphasise fullness in the lower cheek on some face shapes.
For a more sculpted, pro-ageing effect, keep the colour higher. Imagine a diagonal line from the outer corner of your nostril towards the top of your ear. Place your blush above that line, then diffuse the edges until there is no obvious starting point. Avoid taking the colour too close to the mouth or below the nostril level.
If your face is long or narrow, bring the blush slightly inward across the cheekbone rather than sweeping it too far towards the temples. This creates soft width. If your face is rounder, concentrate the colour on the outer cheekbone and blend up for more vertical lift. These are useful starting points, not rules written in stone.
Fingers, brush or sponge?
Clean fingertips are ideal for a quick, skin-like result. The natural warmth of your hands softens the formula, and the pressing motion helps preserve the foundation underneath. They are especially good for balmy blushes and an effortless daytime finish.
A dense, small synthetic brush gives more precision and is the best choice if you prefer a perfected complexion. Pick up a tiny amount, work it onto the back of your hand first, then stipple it onto the cheek. This prevents a concentrated patch of colour and gives you time to build exactly where you want it.
A damp makeup sponge creates the sheerest effect. Use the side of the sponge to bounce blush into the skin, then use the clean edge to blur the perimeter. It is a brilliant rescue tool when you have applied too much, or when you want blush that looks almost transparent.
Whichever tool you choose, avoid rubbing. Rubbing moves your foundation and can leave a patchy finish, particularly around pores and dry areas.
The order of application matters
Cream blush generally performs best after liquid or cream foundation and before powder. This keeps every layer compatible and lets the blush blend into the base. If you like setting your makeup for longer wear, apply a small amount of translucent powder only where you need it, such as the sides of the nose, chin and centre of the forehead.
You can also set cream blush with a tiny veil of powder blush in a similar shade. This is an excellent option for hot Australian days, long events or anyone who wants colour that stays vibrant from morning coffee to evening plans. Use a light hand so the fresh cream finish is not lost.
If you wear powder foundation, do not swipe cream blush straight over it. Tap a little onto bare moisturised skin before your powder base, or choose a compatible powder blush instead. Makeup is not about forcing every product to work together. It is about choosing layers that make your complexion look effortless.
Common cream blush mistakes, fixed fast
When blush turns patchy, the usual culprit is dryness or too much product at once. Reintroduce hydration with a comfortable moisturiser, apply thinner layers, and press rather than buff. If the colour looks harsh, use the clean side of a sponge or a foundation brush to soften the edges before it sets.
If your blush disappears by lunchtime, you may need a more vibrant shade than you expect or a cream-to-powder formula with greater staying power. Layering a whisper of powder blush over the top can help. On the other hand, if the colour becomes too strong throughout the day, your skincare may be very rich or your blush may be reacting with a warm complexion base. Try using less and placing it higher.
For a pulled-together finish, echo the same blush tone lightly on the lips. A peach cheek with a peachy nude lip, or a rosy cheek with a soft rose lip, makes makeup feel intentional without looking overly matched. This is the kind of uncomplicated, confidence-building beauty that Mirenesse has championed for years: luxe results, clean-minded choices and colour that works hard for real life.
Tomorrow, try your cream blush a centimetre higher than usual, using half the amount you normally reach for. That small adjustment may be all it takes to see your natural glow in a completely new light.